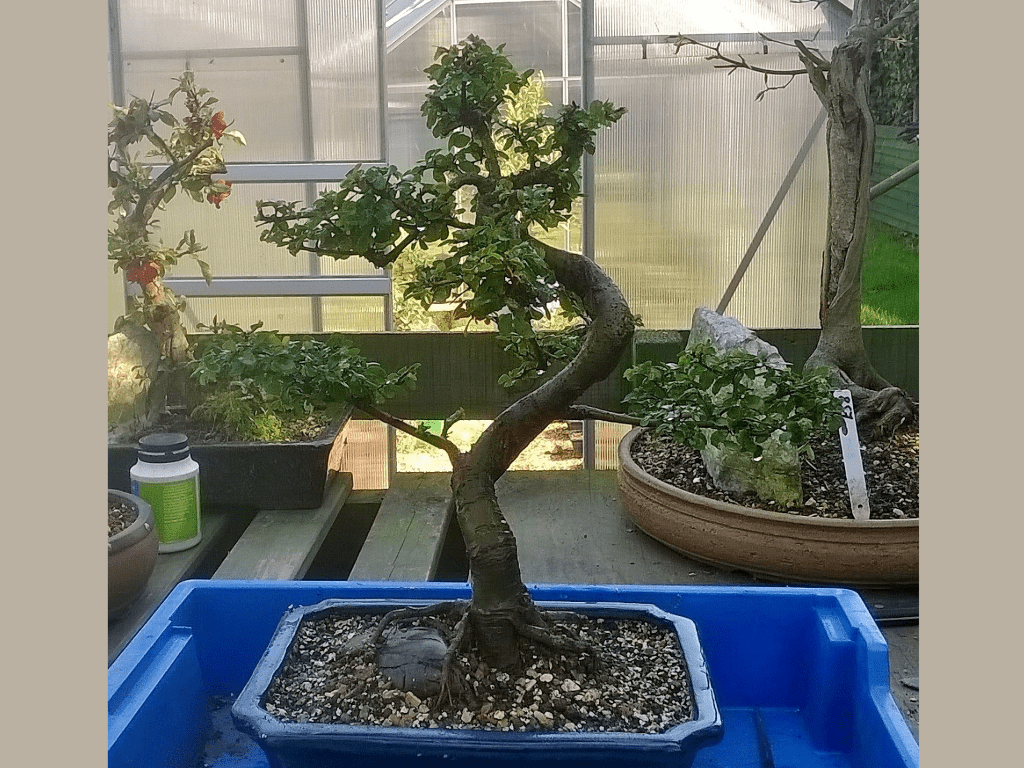
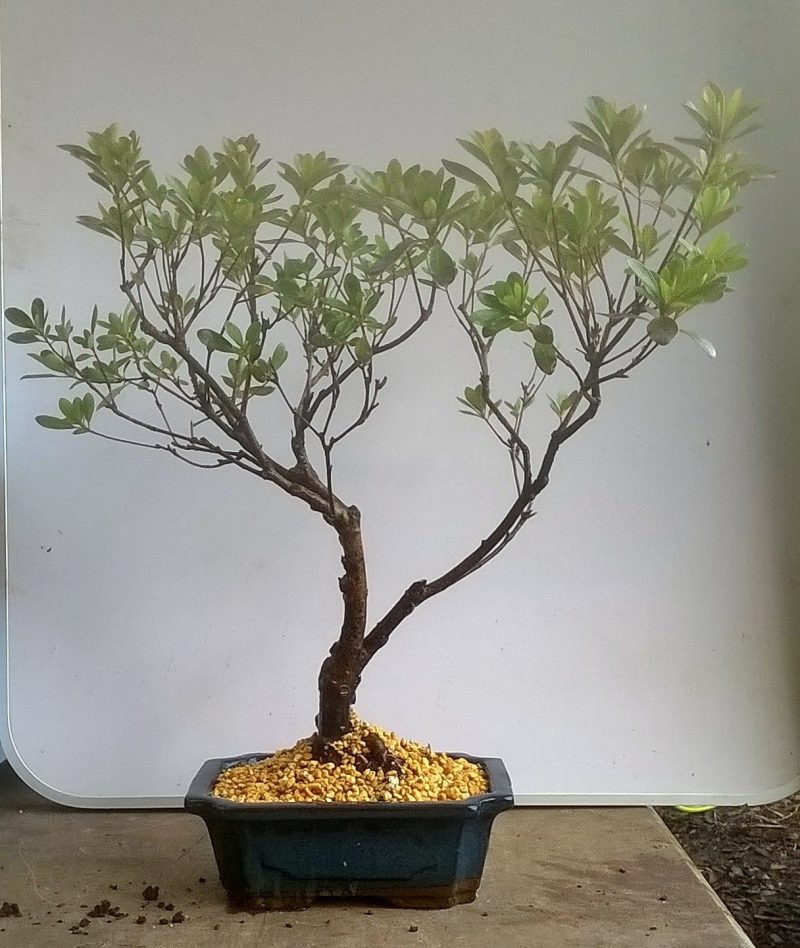
English Oak Yamadori - March 2017
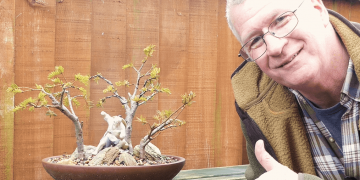
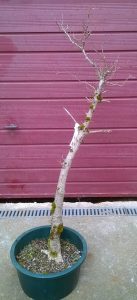
On one of my twice yearly visits to Greenwoods Bonsai in Nottingham I happened to come across a neglected English Oak hidden amongst some pines in the sale section at the back of the nursery. Clearly an old collected tree it had very little going for it – certainly no taper…or branches! But it took my attention so I purchased it on impulse with very little idea of how to develop it further.
Loaded into my van, with several more second hand pots, it made its way to its new home at Expressiond of Grace…
Step 1 - April 2017
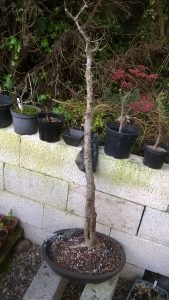
I decided to repot and sort the roots immediately – before bud burst. Generally healthy (the tree…not me), I was able to ‘lay out’ the existing roots into a decent radial pattern before repotting into a deep plastic oval training pot.
I still had no idea what to do and half hoped that loads of new branches would push out during the spring. What I had failed to consider was how much the impact of transplanting this tree would have on new growth. I then made things worse by pruning new growth without a clear ‘development plan’ in place…
By November 2018 I realised that I had made a number of rookie mistakes – the first was not having a plan. The second was placing the oak into a shallower bonsai container before considering what I wanted the roots to do for me. Thirdly…randomly pruning the new growth without recognising that the roots needed lots of leaves to produce the energy required for future growth. It should have been left to flourish unchecked throughout 2018…
Step 2 - June 2019
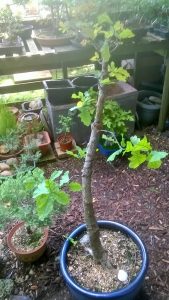
I thought long and hard and realised I needed to put the oak back into a deeper pot to allow the roots to expand. A bigger root mass would allow me greater energy production needed to grow the primary branches. I did the repot in early March being careful to keep the new root mass intact.
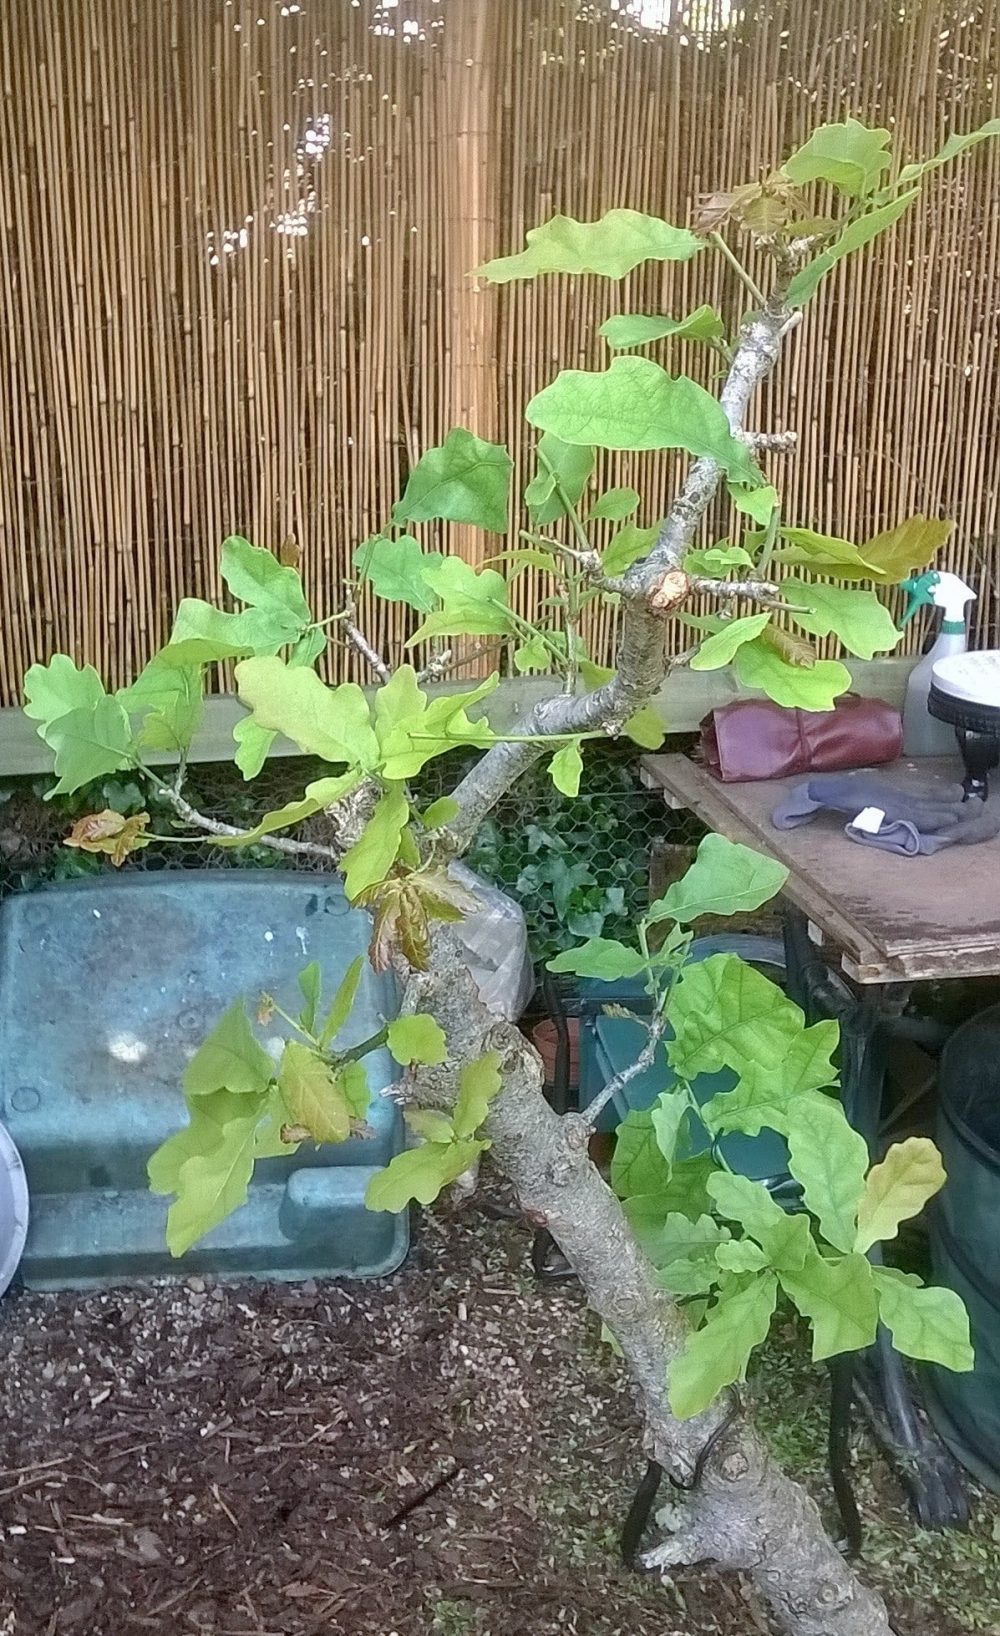
I chose a front for the design and selected the locations for my primary branches. I then removed all of the unwanted new buds to ensure energy was directed only in the places I needed it…
Step 3 - June 2019
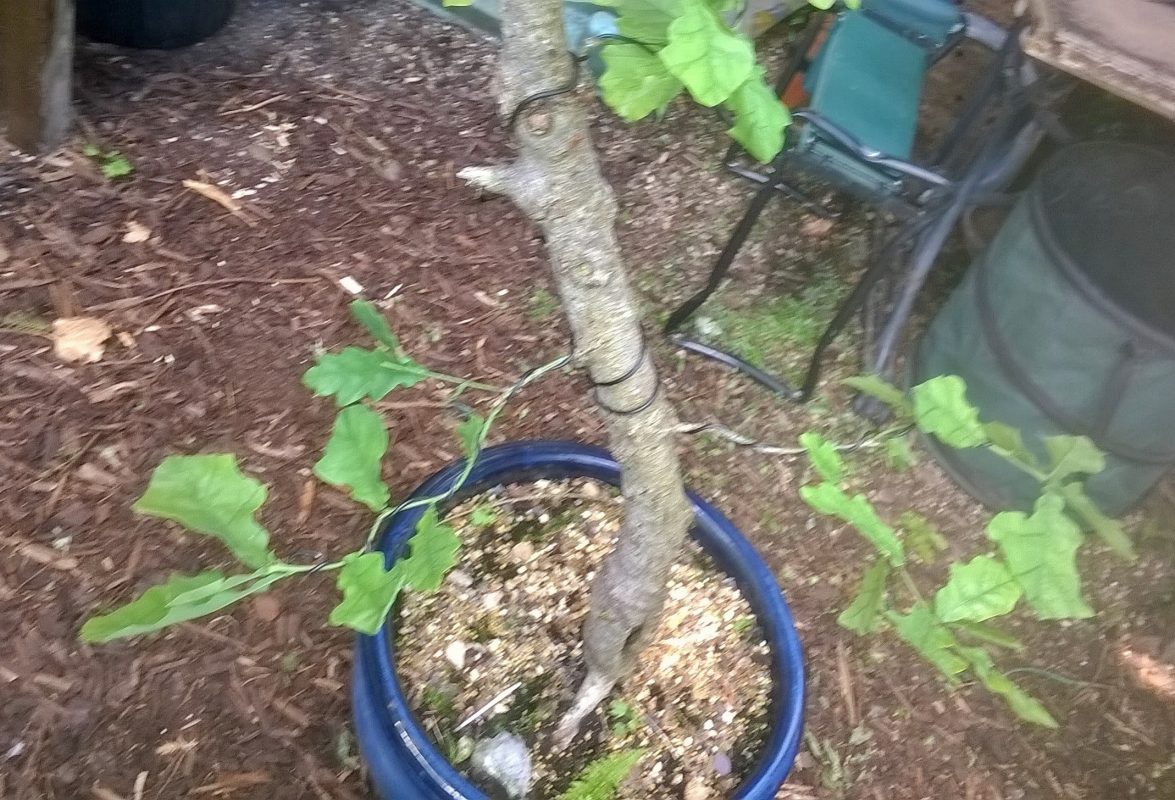
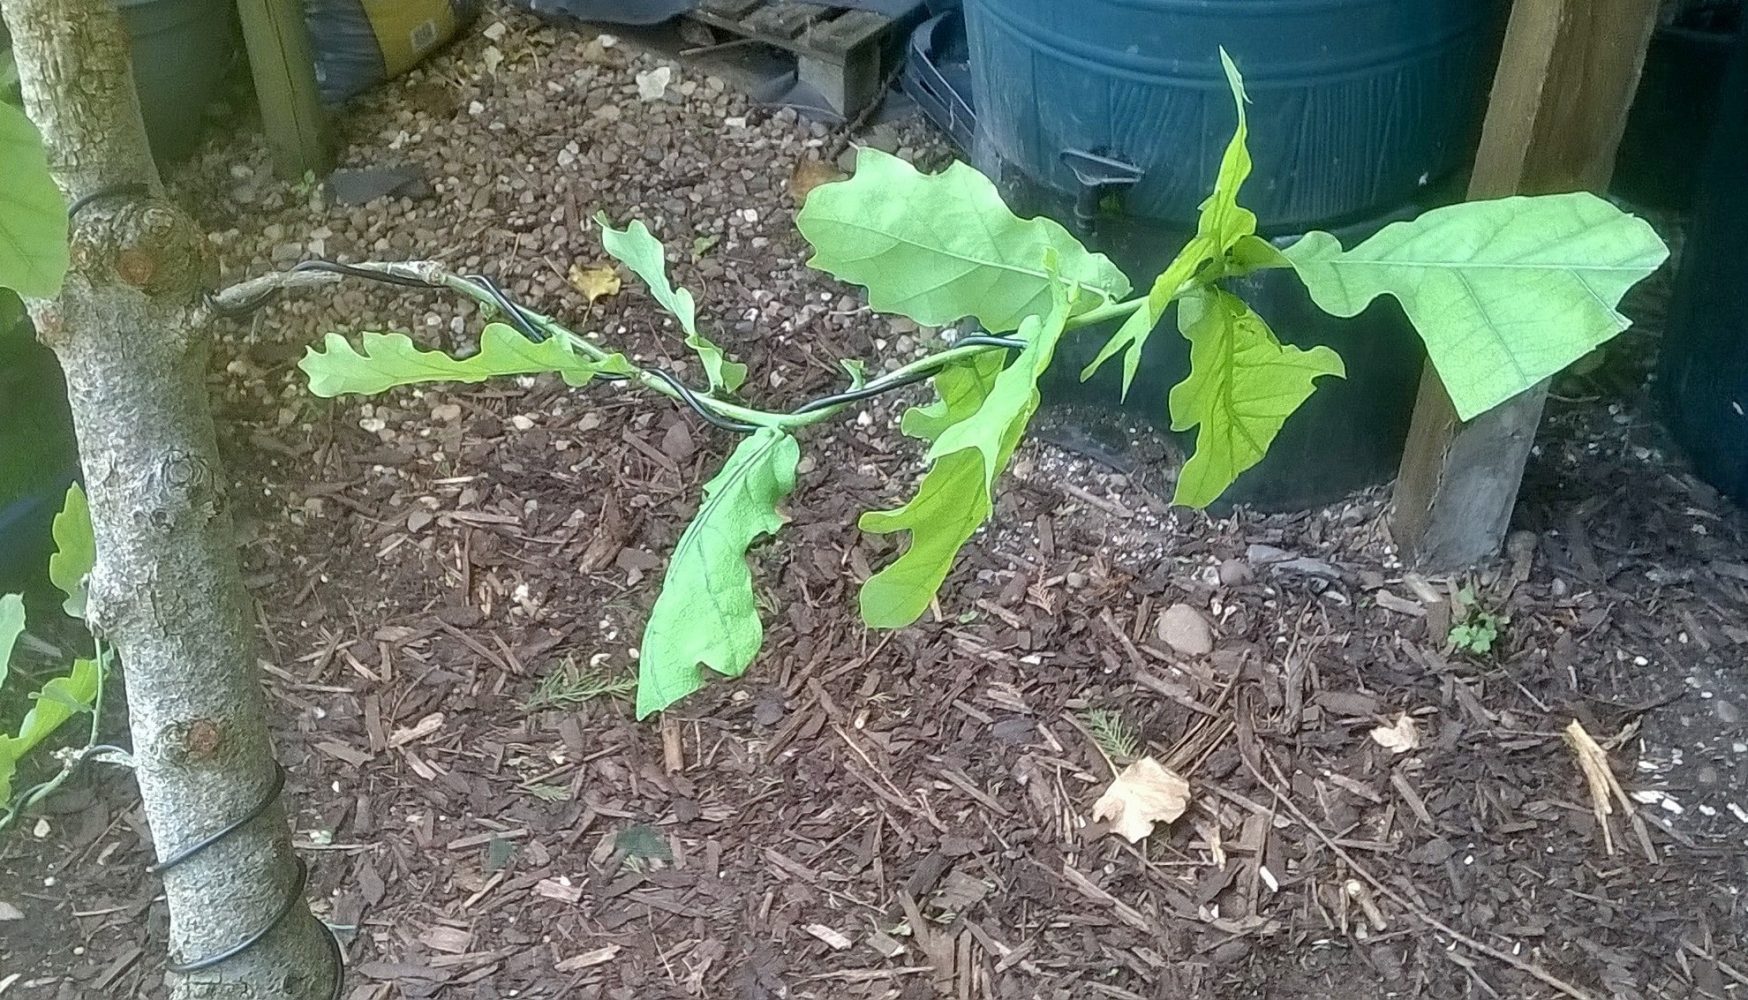
All I have concentrated on doing is allowing three branches to grow unchecked. The first goal is for these branches to thicken sufficiently that they are in proportion to the trunk. It is important to allow foliage to develop on the branch as this is what drives the building of vascular tissue (thickening).
Step 5 - June 2019
Throughout the Spring flush I have kept the apex pruned to just two leaf pairs. All new buds and unwanted growth has been removed. The aim is to try and maintain the thickness of the apex branches until the primary and secondary growth is at the proportionate stage for the tree.
Year one of this plan is all about directing strength to the new primary branches.
This is definitely the right time to feed the tree heavily.
Step 6 - June 2021
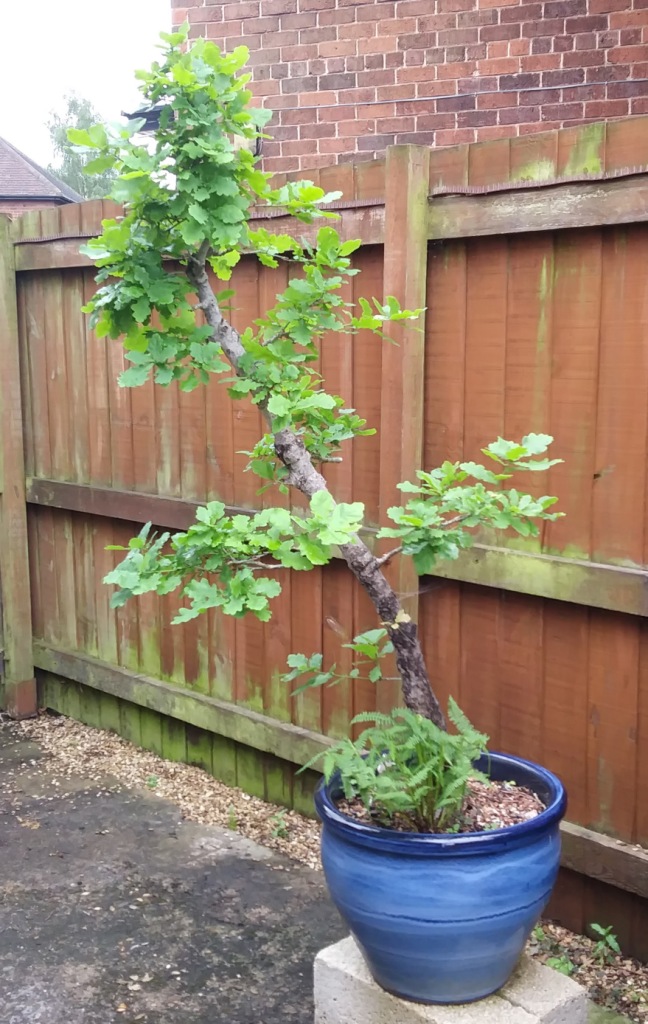
This year I have chosen to move the tree into a more public area. It is now establishing solid primary structure and I am keen to maximise the amount of daylight sun in this new location.
I will be heavily pruning the apical region by the end of June but leaving most of the primary branches to elongate and thicken. I will remove any uneccasary growth to ensure all energy is distributed where I need it most.
Plans for 2022/23
- I have established a basic primary structure and I want to let the growth run out this year to encourage thickening and back budding
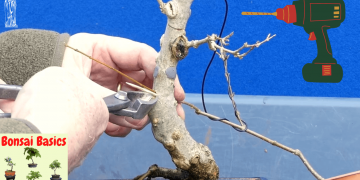
- Continue to wire developing branches as required.
- 2022 is all about developing the secondary branch structure and keeping the apex of the tree tight.
- This will not be considered for repot until the primary and secondary structure is established – possibly 2023.

