Japanese Larch Cloud

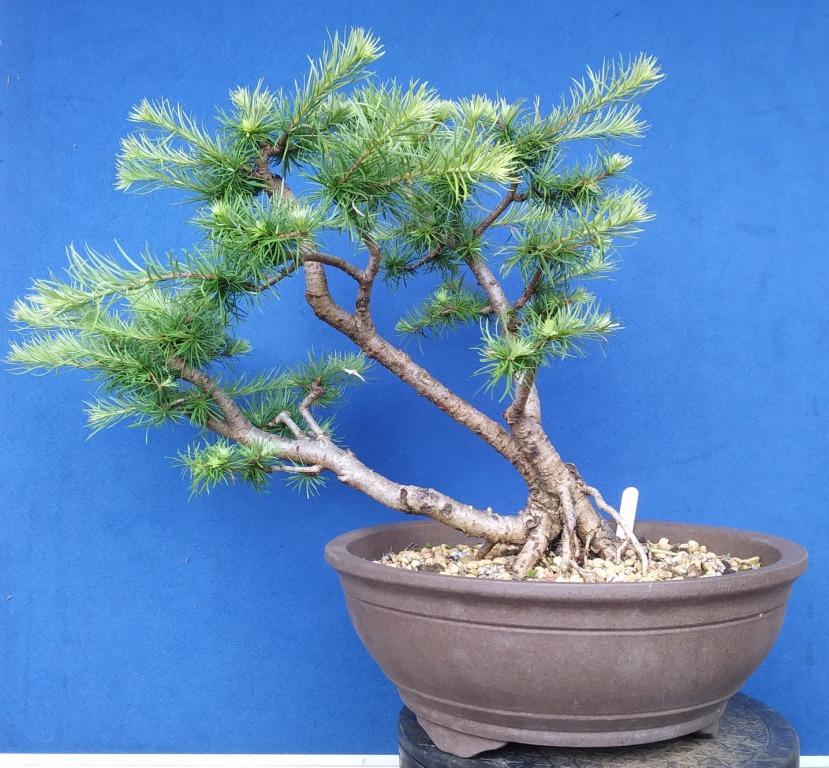
Japanese Larch - Cloud

Whilst visiting an ebay seller during 2015 I noticed a fantastic example of a Japanese Larch in a traditional ‘Cloud’ design.  It was well over 30 years old and looked incredible.  I asked how easy it was and the reply was as expected – “Depends how long you have to wait…”


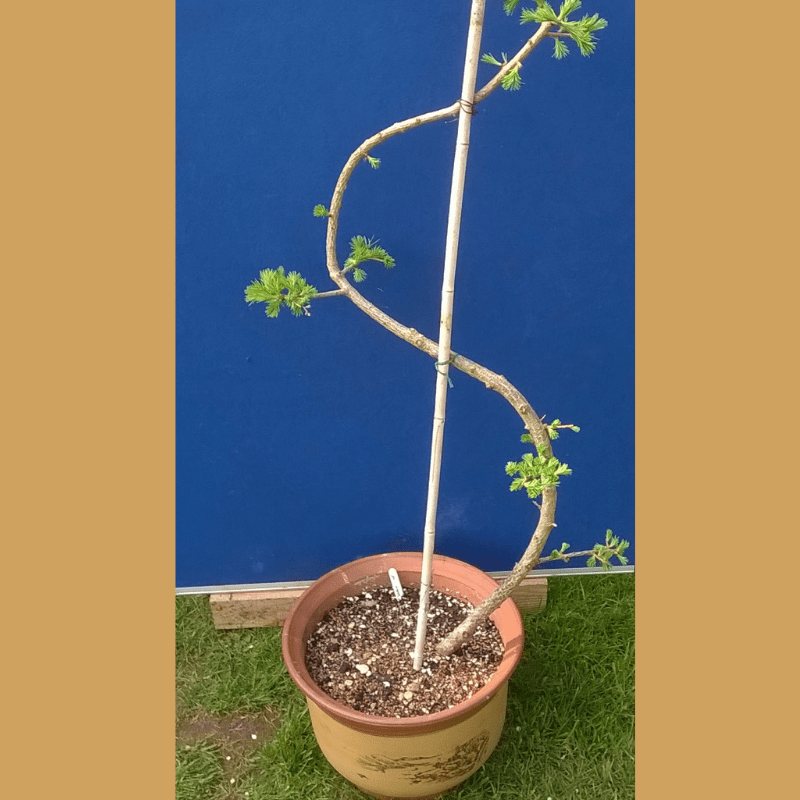
In the corner of her garden was a very young (5 year old) larch which had been loosely tied to a cane in an ‘s’ shape.  Nothing much to look at but she saw my glance and suggested I might like to purchase it for £17.  The rest is history and I ended up leaving her small garden with another 5 potensai stock items and a very leggy 3ft Japanese Larch.

It wasn’t really till 2017 that I took a serious look at branch development and the future of this project.

Step 1 - July 2016

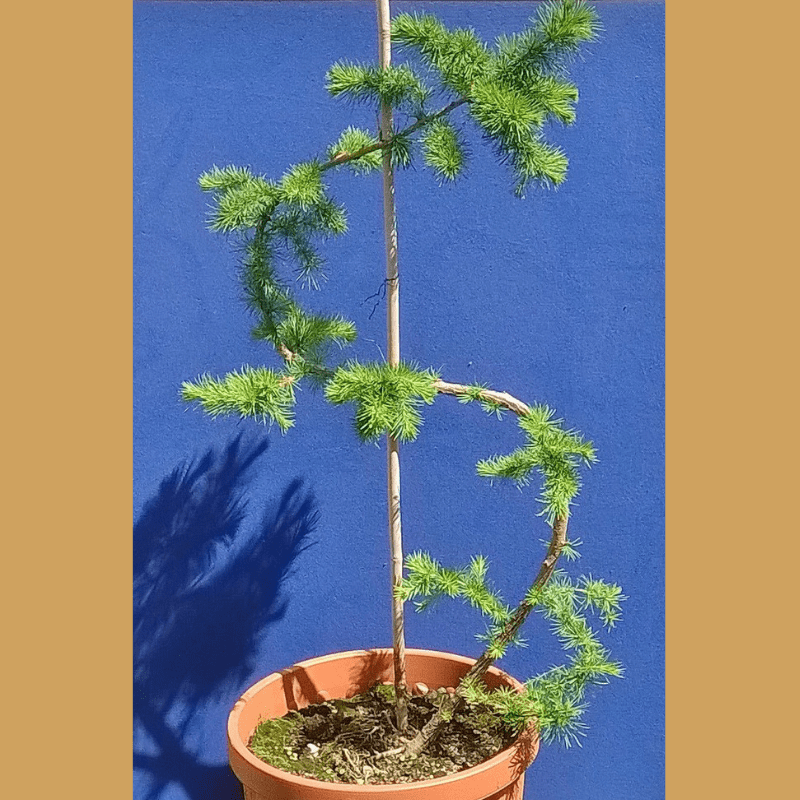
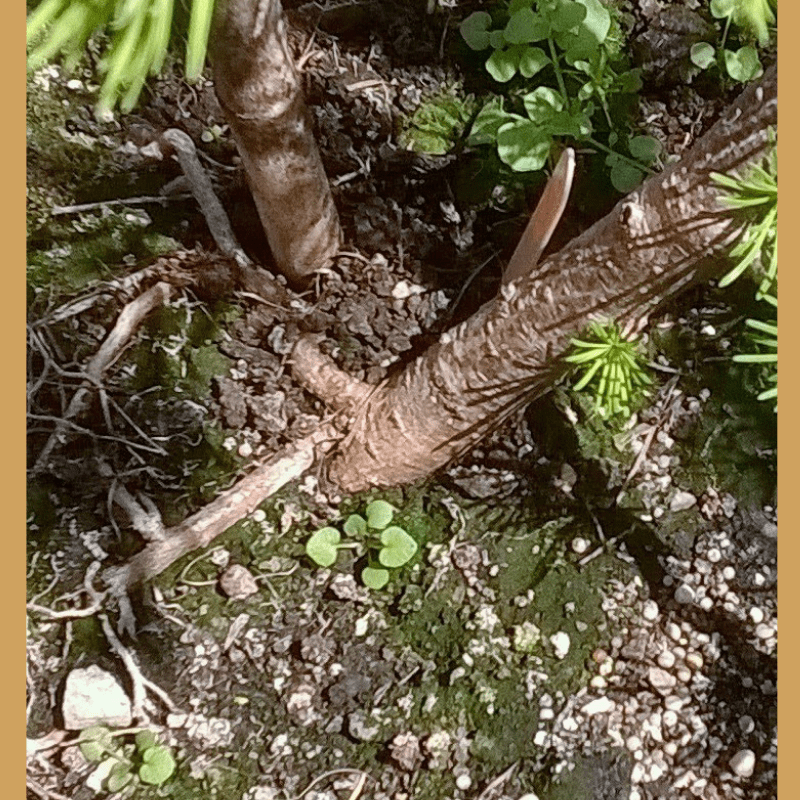
The nebari on this larch was barely a couple of centimeters and rather than letting the lower branches grow wild I pruned everything back to single buds.  Big Mistake

In the first year I had no real plan for effective trunk or branch development and looking back I realised I had spent far too much time cutting back to ‘first buds’ – rather than letting the lower growth grow unchecked. (1m length for 1cm of trunk girth)

This was my first real lesson in the ‘basics’ of bonsai.  It’s all about structure and building it in the right order:

  • Trunk
  • Primary & Secondary Branching
  • Then…ramification for final design.

Step 2 - April 2017

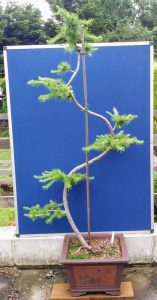
I carried out a full root prune and then placed it into a deeper pot to allow a strong supporting structure for the ‘future’ tree.  This will not be the final pot but will remain for a good few years.

You can clearly see that there is no taper in the main trunk line and I have cut all of the pad growth uniformly – this is a visual representation of what I described above as a big mistake 🙂

So I decided to just let them grow out for 2018.  I did reposition the ‘s’ bends to give a 3 dimentional aspect to the overall design.

Step 2 - July 2019

  •  
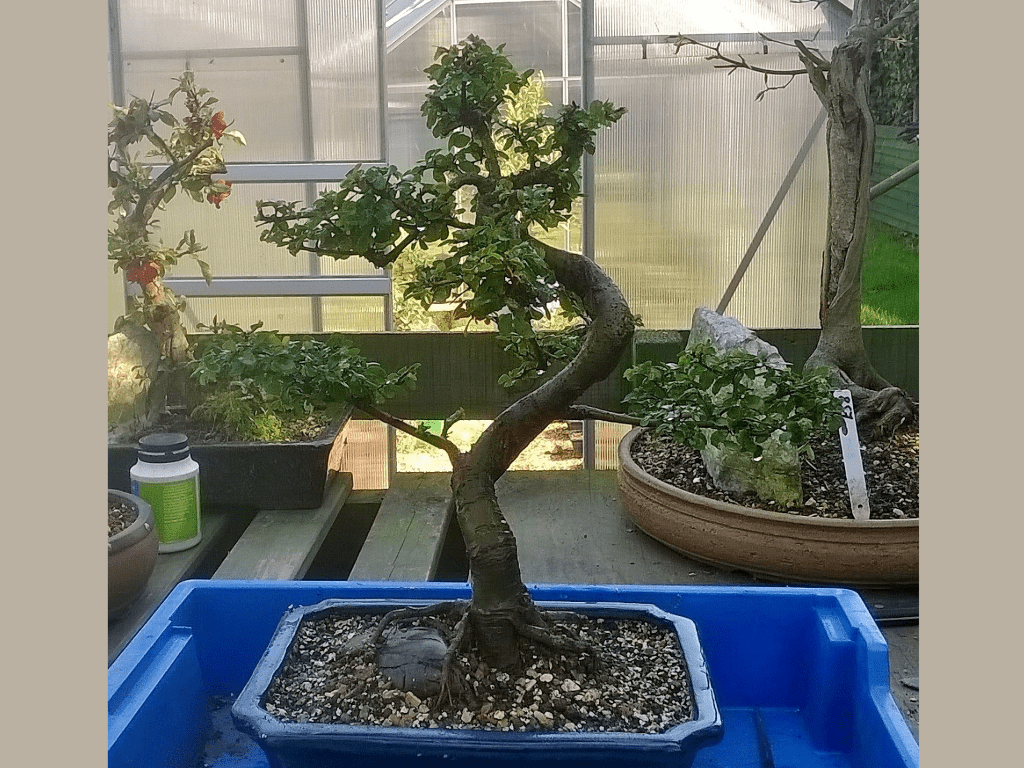
  • In early Spring all branches were pruned back to selected buds.  They were again pruned in May and Sept.
  • Lower shoots were left to grow longer to assist in thickening.
  • Wire applied to primary branches and removed in early Winter


Step 3 - Mar 2021

  •  
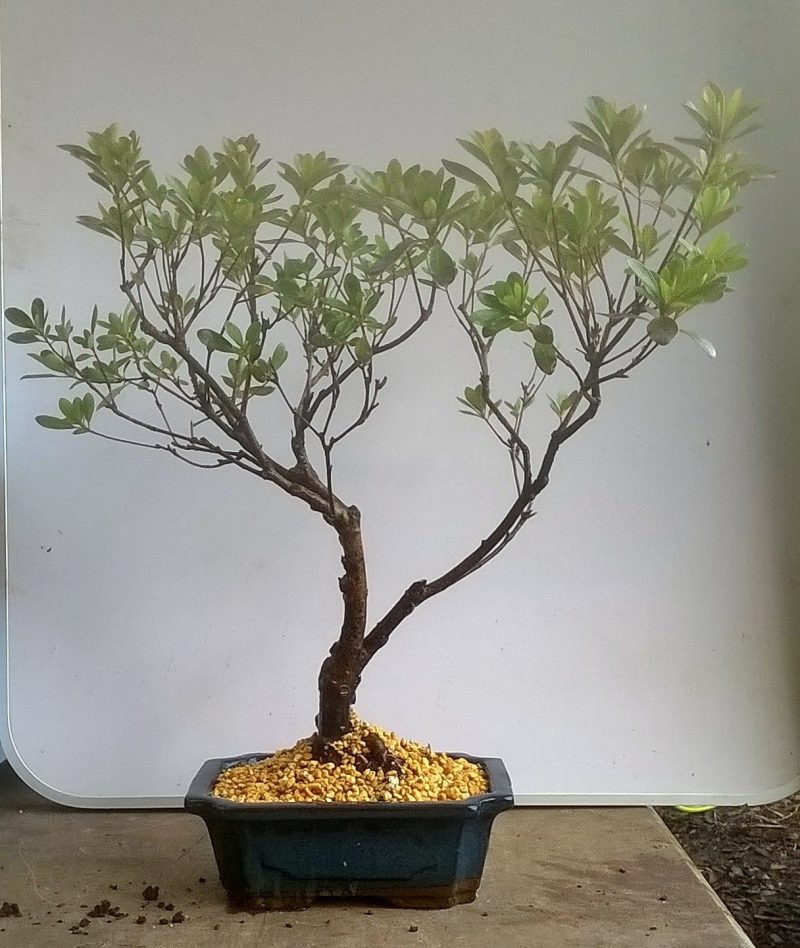
  • In early Spring all branches were pruned back to selected buds and will then be left until autumn.
  • I carried out a full root prune and potted into a square ceramic.
  • This is all about patience and lots of fertiliser.

Plans for 2022/23

  • This year I will continue keep my hands off the bottom half of the tree – just let the shoots run long and thicken.
  • I will get an updated photo sometime in late May.
  • Keep on feeding it.

Categories