Fuji Cherry Shrub - March 2015
By 2015 I had started to scour Ebay for bonsai bargains! In this instance I found a private collector who sold me a number of trees – including this 3 ft cherry shrub. It was in flower and I was totally in love with it. The trunk was as thick as my wrist and I knew there was the opportunity for loads of air-layers.
But was I ready for such a project?
My long term plans was to reduce this 3ft shrub to a 1ft stump but first I wanted to get into those branches and start ‘making’ new trees. I was still new to air layer propagation; though I had some success in 2014 with a cherry tree in my old garden. So the short term plans required two succesive years of air layering. Though I was sorely tempted to just go for the main tree and get that reduced to a stump immediately…
I identifed 5 sites for layering and then waited until May.
Step 1 - July 2015
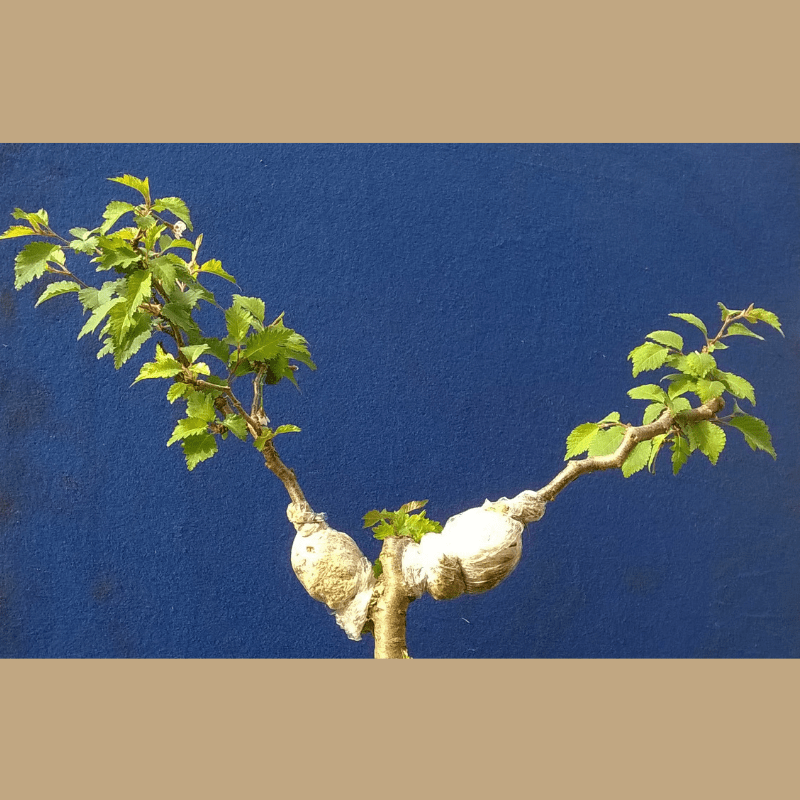
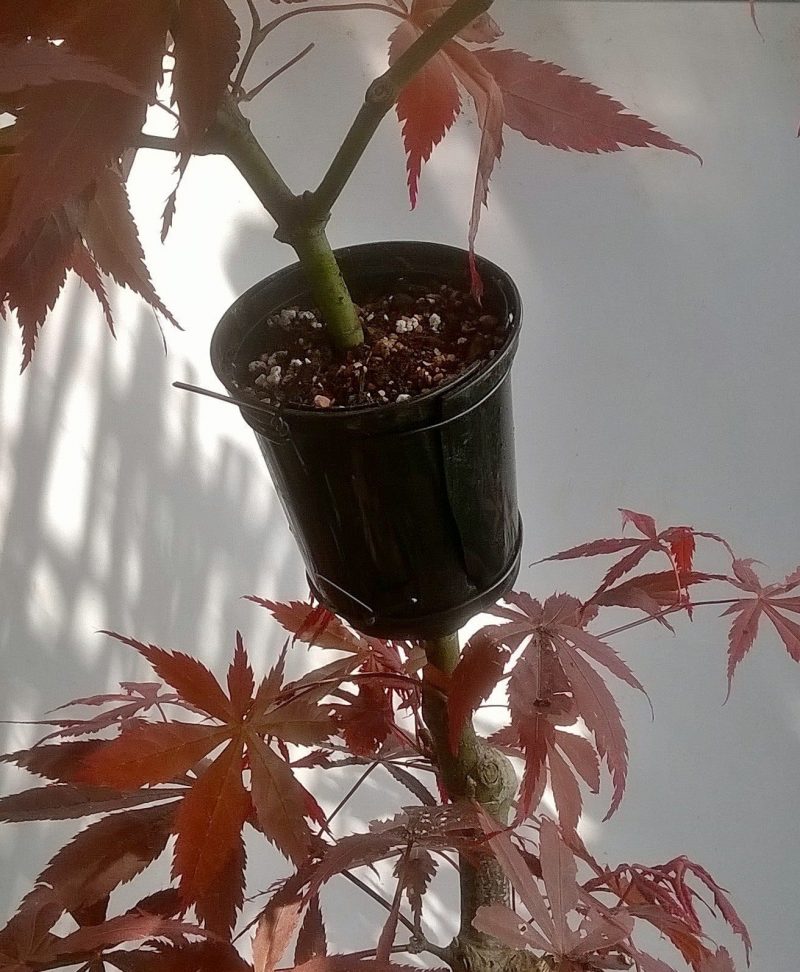
Due to other developments I didn’t get to air layering until early July. I could have waited another year to optimise success rates but was impatient. I ring barked the 5 sites and applied sphagnum moss and rooting hormone – then wrapped them in cling film and foil. (I no longer use foil)
The rest of the shrub was left untouched and each layer site was kept moist until I was ready to risk seperation.
It was a hot summer and I kept checking the sites and injecting water with a syringe. This was early days for me and I have since improved the process. The air layers were seperated in late September and placed straight into small pots with the sphagnum moss left in place. The pots were kept over winter in the greenhouse. (3 survived)
Step 2 - April 2016
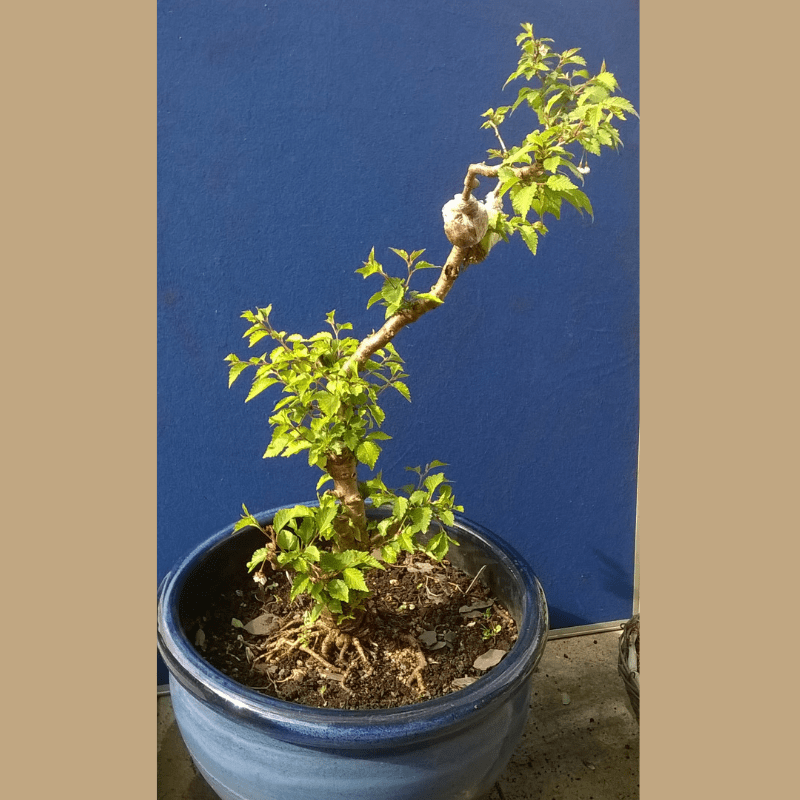
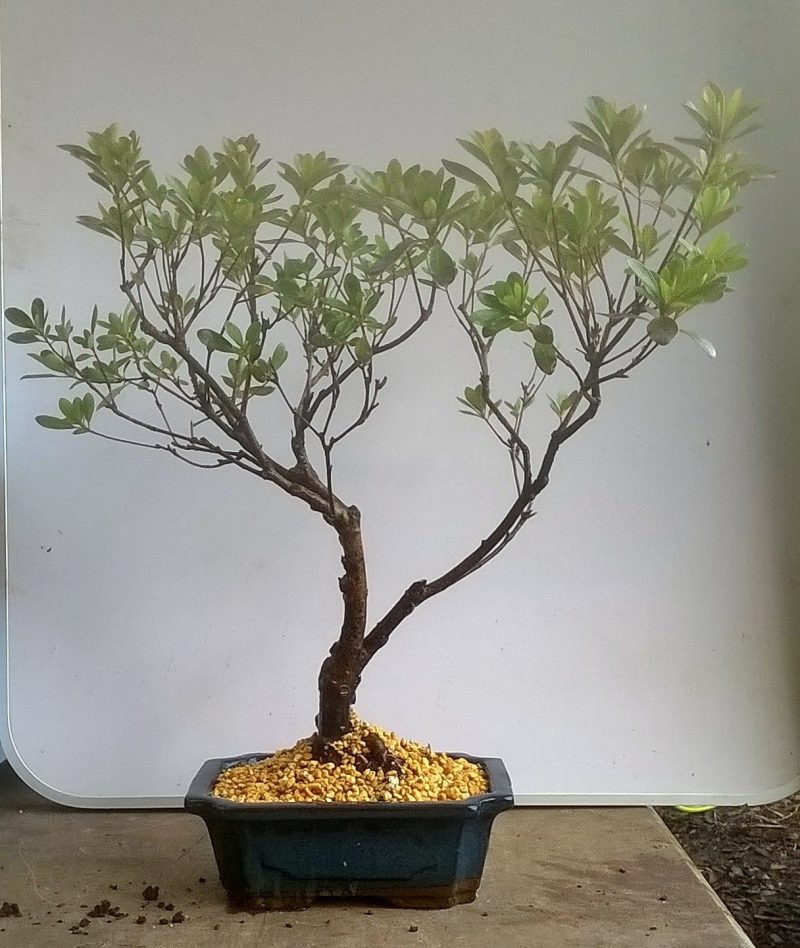
Exactly the same process took place in 2016 and you can clearly see the reduced number of branches as a result of the work in 2015. You can see the two new air layers on the upper right trunk. These were seperated in early September and placed in pots as occurred with the 2015 air layers.
I have done a seperate blog post covering the air layering process for this project where you can see the seperated trees.
Step 5 - April 2018
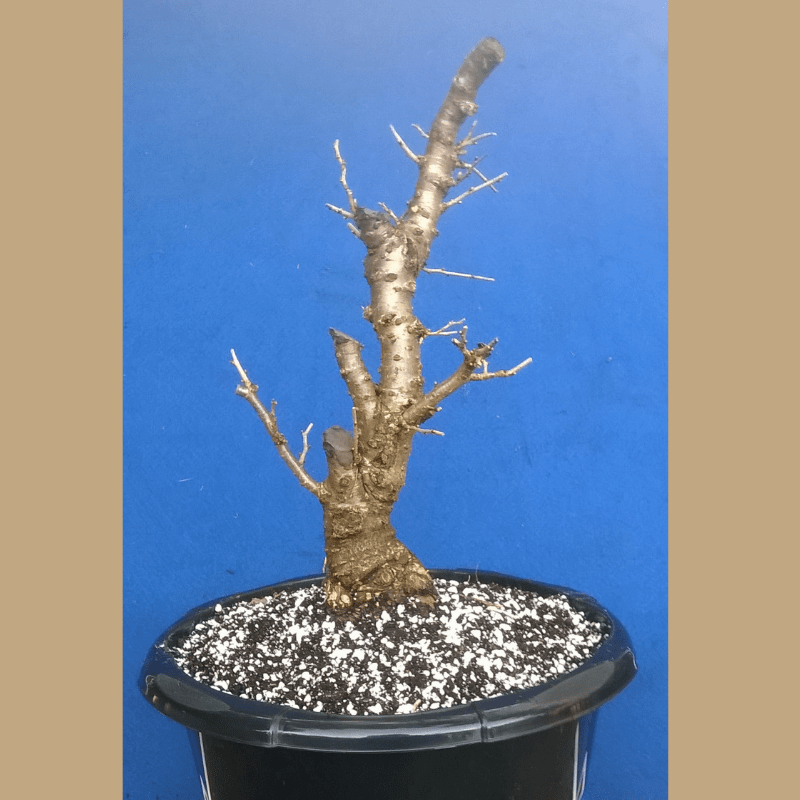
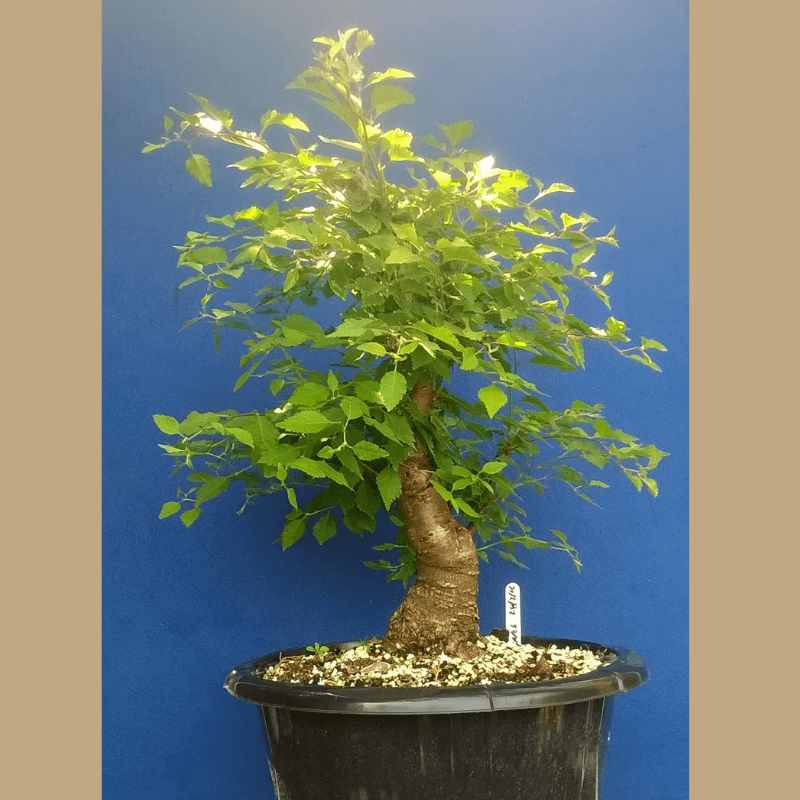
Prior to bud burst I did a hard root prune and repot. As with a Yamadori specimen there was a lot of root growth to sort and remove. The subject of this aspect was detailed in a separate blog post.
The key was too get a decent radial root spread and place the tree into a good free draining bonsai mix.
Step 6 - Spring 2019
In truth, there is absolutely nothing I need do with this at the moment. The volume of new growth is stunning and I am absolutely amazed at how good this tree looks. After the first 4 weeks I brought it out to the bench where it could get good sunlight and I started to feed it.
This will not be touched this year.
Step 6 - Autumn 2020
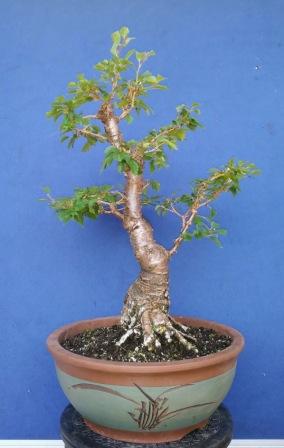
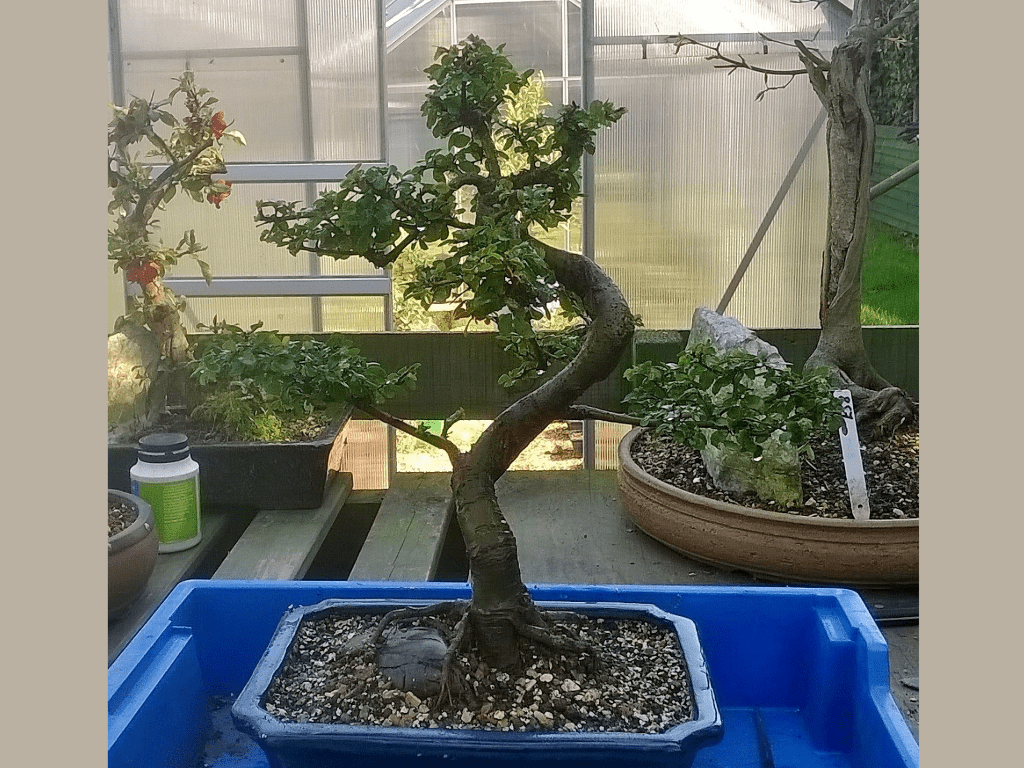
- I chose to carry out a ‘slip pot’ in the Spring to get a sense of this tree in a ceramic. A little tidying of the roots to aid lateral growth.
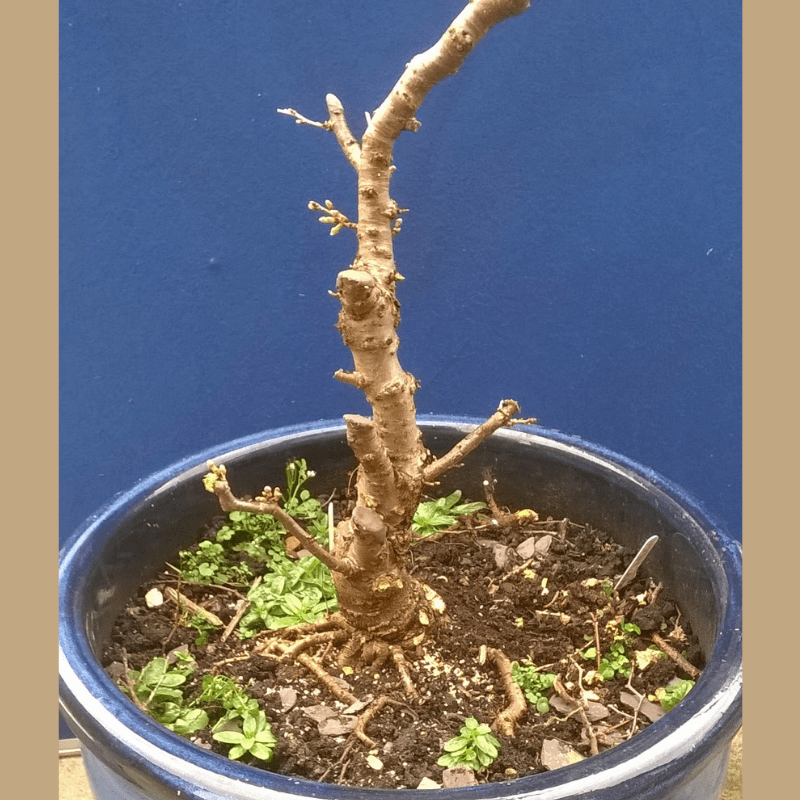
- It was also given a hard prune to assist in identifying and establishing the primary structure.
- Some work was carrie dout on cleaning the trunk of unsightly knobs etc.
Step 7 - Summer 2021
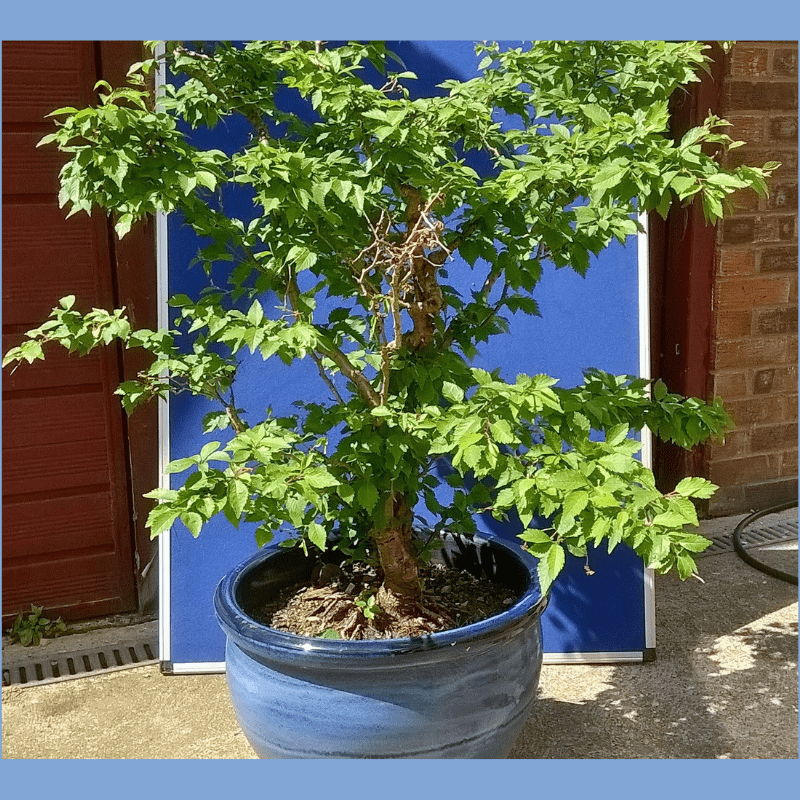
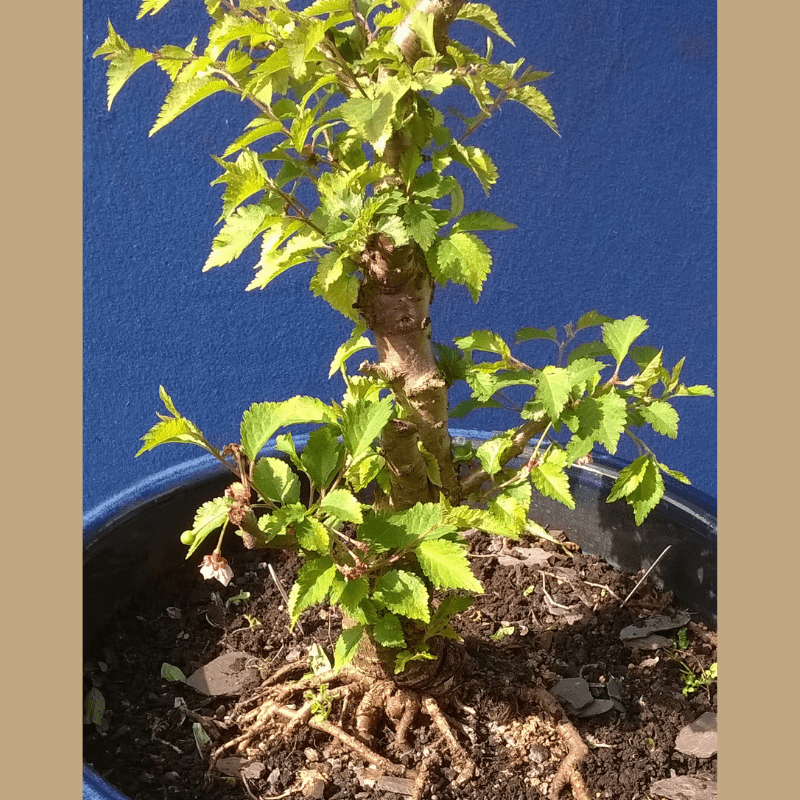
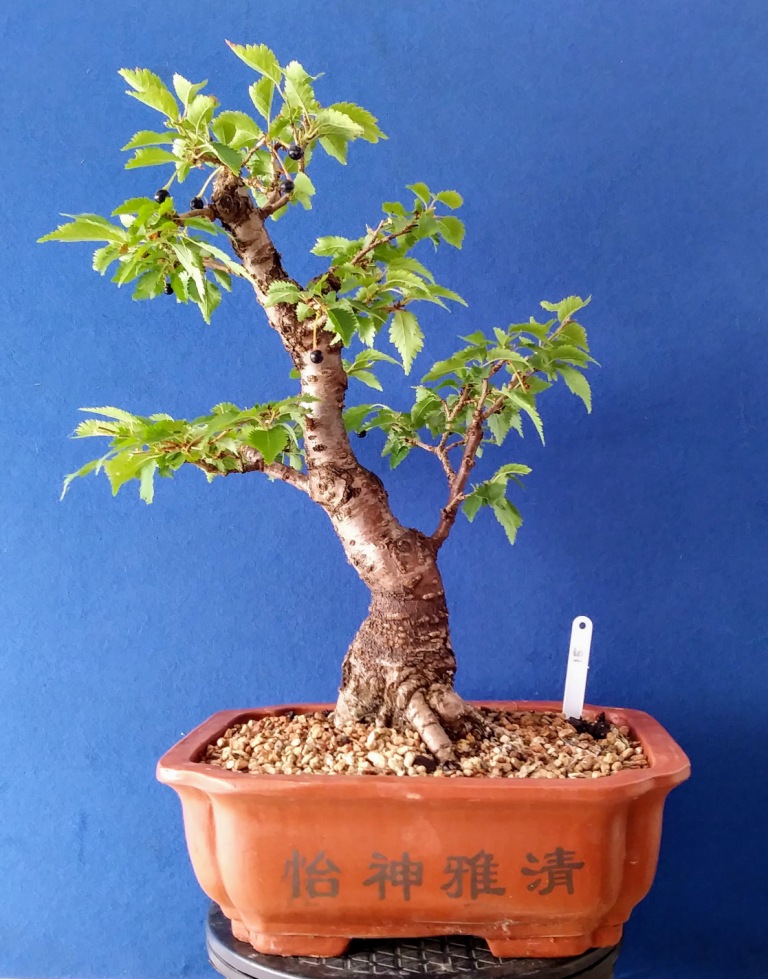
- I chose to reduce the pot depth and gave the roots a good prune. It looks much better I think!
- I have allowed a few of the blossoms to turn into cherries and thery are hanign happily on the tree now.
- I think it is now a case of allowing the secondary branching to develop with directed pruning.
Plans for 2022
- In late February I will clean up and remove any unwanted new buds.
- It is still all about developing the secondary branch structure and keeping the apex of the tree tight.
- This will be subject to a ‘final’ repot into a handmade Deiceramics pot in 2024.









Leave a Reply