Silver Birch - May 2010
In 2010 my daughter hit a glorious drive from the patio, through the lawned section and into the bonsai nursery. Despite my pleasure at such a good shot I was nevertheless a little worried at the sharp ‘snapping’ noise I had heard follow it….
As I looked sadly at the broken remnants of my, not so, 5ft Silver Birch I realised this was a message to start my first Yamadori bonsai.
The tree had been in the garden since purchase and I guess it was probably 5 or 6 years old. So out came my favorite bonsai manual and 2 hours later it was a bare rooted stump lying on the paving slabs. To me….it looked dead! Despite my fears I left as much of the root structure possible before planting it into a 1ft deep pot full of the garden soil. Then I watered and left it…
Step 2 - Spring 2014
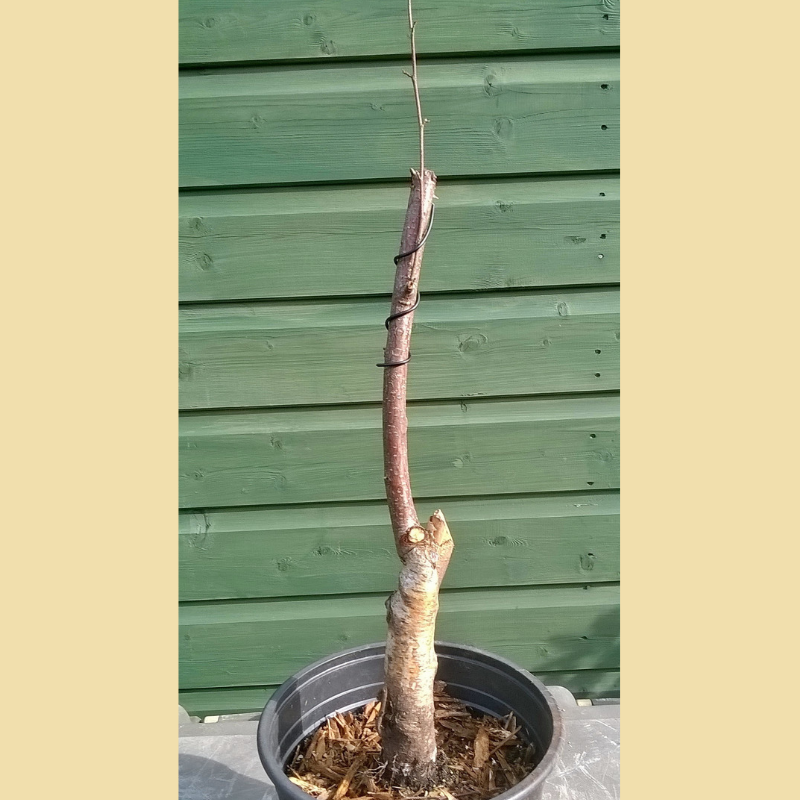
Having seen three years of reasonable growth I decided to give it a very heavy prune and took away every branch except for the ‘designated’ new leader, which I wired into place.
I repotted it into a smaller container – again reducing the larger roots leaving a lot of smaller new growth to support the tree. I also used some free draining soil mix.
Step 3 - Spring 2016
In truth, I was struggling to know which direction to take this project. The ugly stump lower down and the very straight upper trunk looked terrible. Hence it was left for another year.
In the end I decided to put it into an ornamental pot and give it an angle to complement the direction some of the lower branches were taking. It just needed more time for primary structure to develop.
Step 4 - Spring 2017
The more I studied the material the less I liked it! I didn’t feel skilled enough to do what needed to be done! So instead I started to look at a weeping, semi-cascade style. Though the problem of ‘no taper’ was still apparent.
This year all I did was to keep it pruned back to two buds and let some secondary branching develop.
Step 5 - Spring 2018
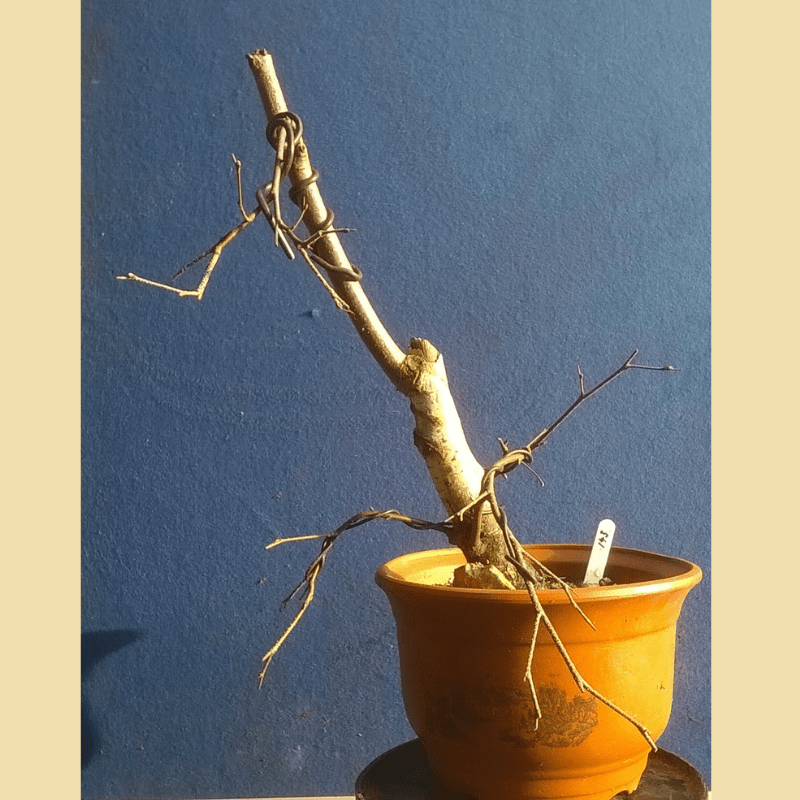
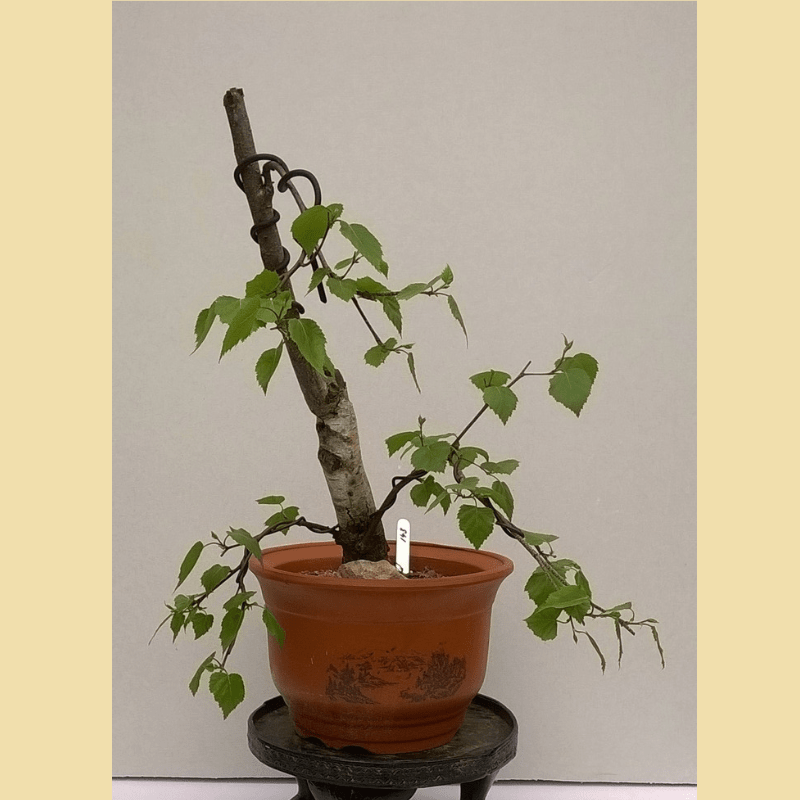
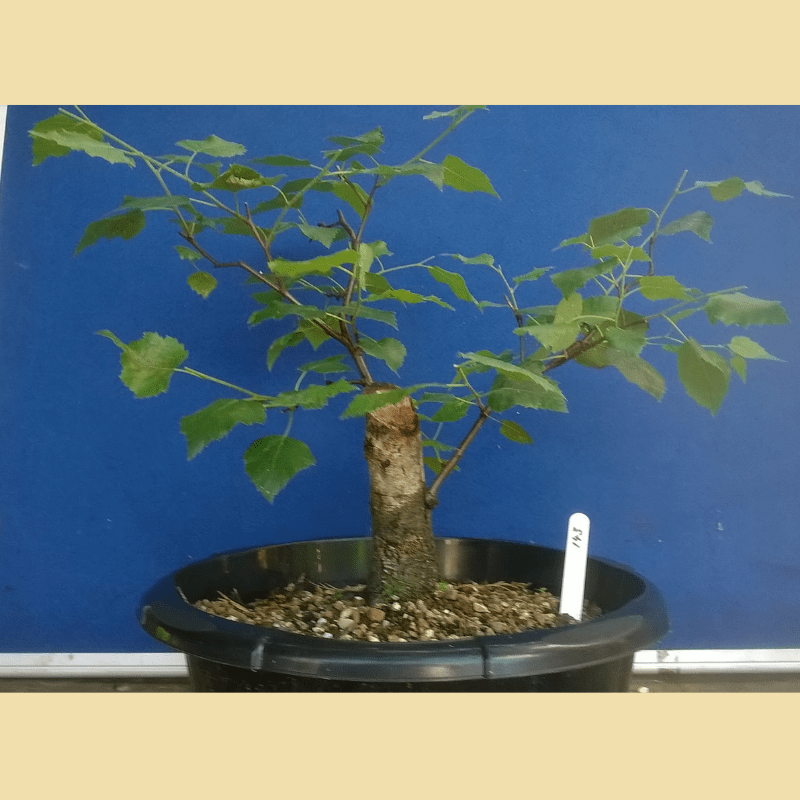
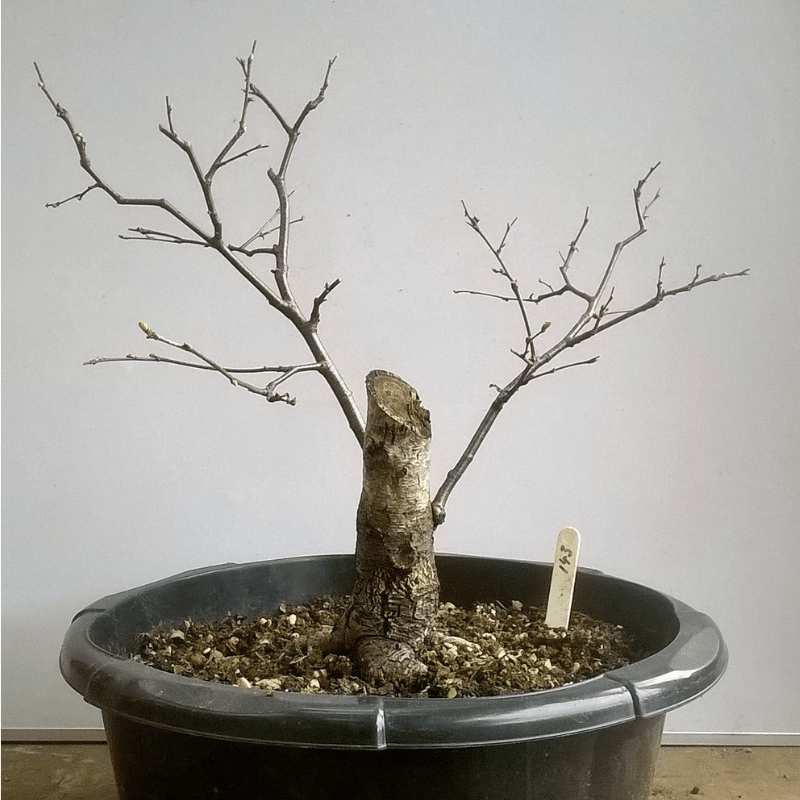
Armed with new knowledge and confidence I chopped the trunk right back to the first chop of 2010. Three primary branches had developed to give me some structure for an informal upright and I also had some good secondary growth.
I did a hard root prune and arranged the roots radially before topping up with a good draining bonsai mix.
Step 7 - Autumn 2020
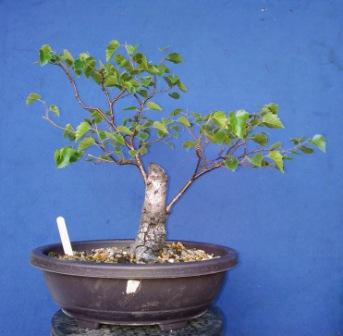
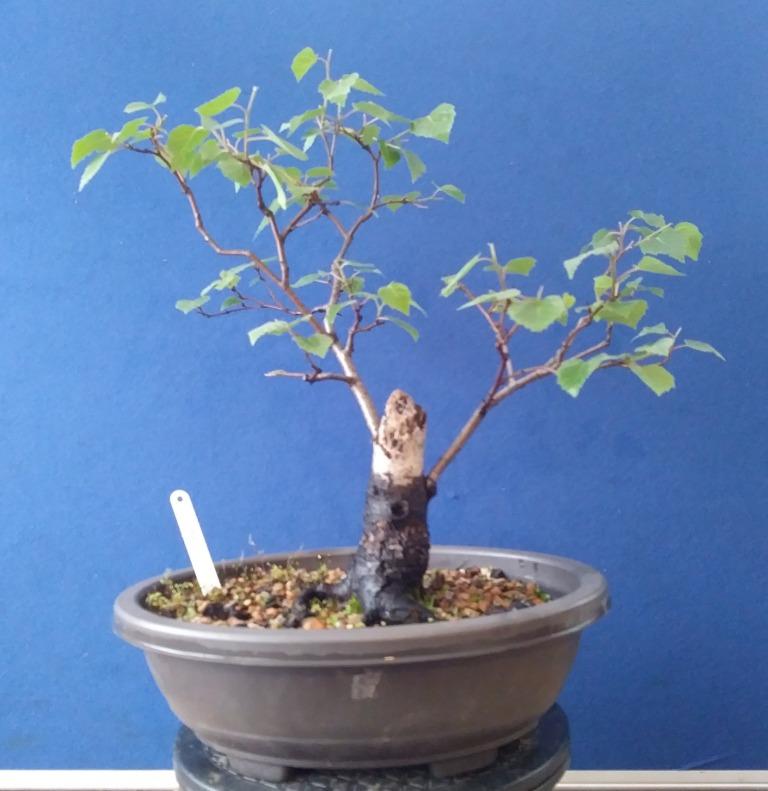
I decided to do a Spring repot. The roots have been further sorted and spread out laterally to prepare them for a shallow ceramic pot in 2023.
Some basic work was done to reduce the height of the stump in Summer. The secondary structure is starting to take shape with some minor wiring completed.
Plans for 2022
- I will continue with the annual pruning and bud selection to encourage tertiary branching.
- Keep it well fed to promote growth. (Starting March)
- I am happy with the basic structure and now need to ‘leave it alone’ when pruning time arrives. Branch thickening is one of the key aims for the next few years.
- First true ceramic pot for 2023 – can’t wait 🙂









Leave a Reply